
My JavaScript Learning Journey - Week 7: Learning APIs and Building My GitHub User Finder
Every week of my JavaScript learning journey teaches me something new. Sometimes I learn a concept, sometimes I practise it through exercises and sometimes I try to build something using what I have learned.
This week was a little different.
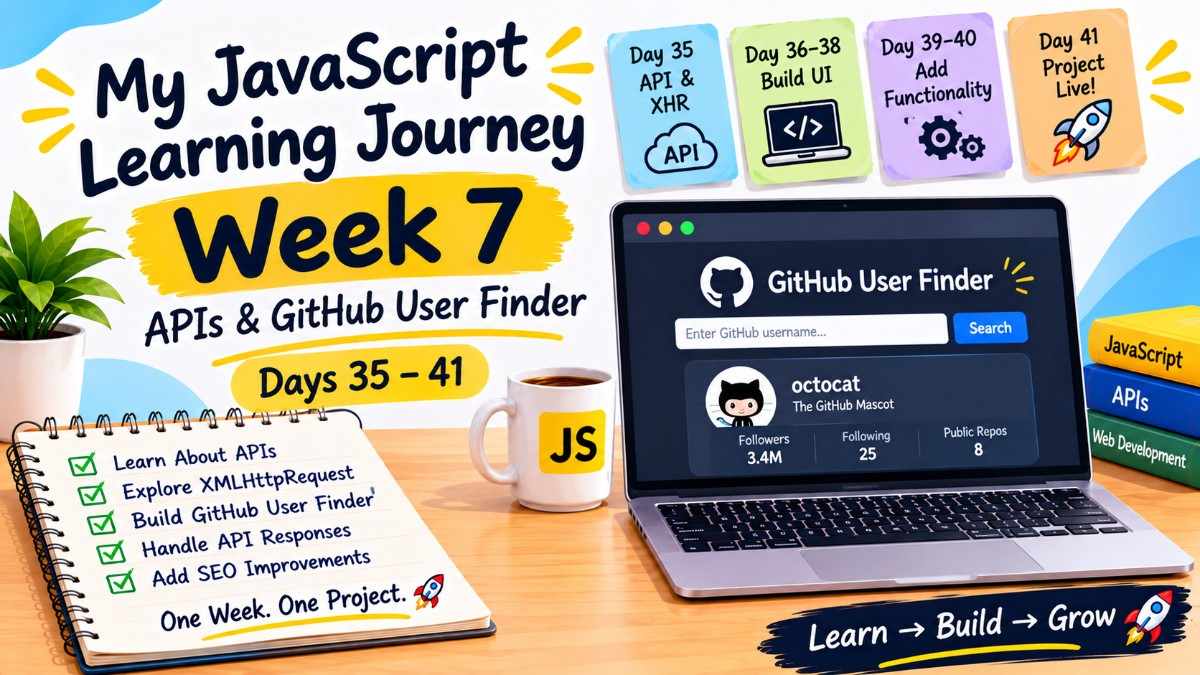
From Day 35 to Day 41, I started exploring APIs and XMLHttpRequest (XHR). After practising some examples, I decided to apply what I had learned by building a mini project called GitHub User Finder.
What started as a simple project idea gradually turned into a complete website. I spent several days working on its interface, adding functionality, handling different API responses and making some final improvements before publishing it.
In this article, I am sharing what I learned and how I approached building my project as a beginner.
Day 35: Understanding APIs and XMLHttpRequest
On Day 35, I started learning about APIs and how applications communicate with each other.
Before exploring this topic, most of my JavaScript practice involved working with values and data that I had already written in my code.
But APIs introduced me to something new: getting data from an external service and using it in my own application.
What is an API?
API stands for Application Programming Interface.
In simple words, an API allows two different applications or software systems to communicate with each other.
For example, imagine building a weather application. Instead of collecting weather information yourself, your application can request that information from a weather service through its API.
The API provides a way to request the data and receive a response.
A simple way to understand the process is:
- A user performs an action in an application.
- The application sends a request to an API.
- The API processes the request.
- The API sends a response.
- The application uses the received data to display information.
This helped me understand how websites can display information that does not already exist in their own code.
What is XMLHttpRequest (XHR)?
After understanding the basic idea of APIs, I explored XMLHttpRequest, commonly called XHR.
XMLHttpRequest is a built-in JavaScript object that allows us to make HTTP requests to servers and receive responses without reloading the entire webpage.
Although its name contains XML, it can also be used to work with JSON data, which is commonly returned by modern APIs.
I learned about some of its important methods and properties.
Some useful XHR methods:
| Method | Purpose |
|---|---|
| open() | Initializes an HTTP request |
| send() | Sends the request |
| setRequestHeader() | Sets HTTP request headers |
| abort() | Cancels the request |
| getResponseHeader() | Gets a particular response header |
| getAllResponseHeaders() | Gets all response headers |
Some useful XHR properties:
| Property | Purpose |
|---|---|
| readyState | Shows the current request state |
| status | HTTP status code (200, 404, etc.) |
| responseText | Returns the response as text |
| response | Response data |
| responseType | Expected response type |
| onload | Executes when the request completes |
| onerror | Executes when a network error occurs |
| onreadystatechange | Handles changes in the request state |
Practising a simple XHR request
After learning the basics, I practised making a request using XMLHttpRequest.
Here is a simple example:
const xhr = new XMLHttpRequest();

xhr.open("GET", "https://api.github.com/users/octocat");

xhr.onload = function () {
  if (xhr.status === 200) {
    const data = JSON.parse(xhr.responseText);

    console.log(data);
  } else {
    console.log("Something went wrong!");
  }
};

xhr.onerror = function () {
  console.log("Network error occurred!");
};

xhr.send();
Let's understand what happens here:
- new XMLHttpRequest() creates an XHR object.
- open() initializes a GET request.
- onload runs when the request completes.
- xhr.status helps us check the HTTP response status.
- JSON.parse() converts the JSON text into a JavaScript value.
- send() sends the request.
This was one of the first times I worked with data coming from an external API.
After practising a few examples, I wanted to build something more practical using XHR.
That led me to my next project.
Day 36-38: Starting My GitHub User Finder Project
On Day 36, I started working on a new mini project called GitHub User Finder.
The idea was simple: allow users to enter a GitHub username and display information about that GitHub profile.
I decided to build it using:
- HTML
- CSS
- JavaScript
- GitHub Users API
- XMLHttpRequest
Starting with the project setup
I first created the basic project structure and started working on the user interface.
At this stage, I focused more on the layout and appearance rather than the functionality.
I wanted the interface to be simple and easy to use, with a search field where users could enter a GitHub username.
Working on the UI
I spent the next few days improving the design.
On Day 37, I had almost completed the interface, with only a few small changes remaining.
On Day 38, I completed the entire UI and moved my attention towards implementing the functionality.
This part of the project reminded me that building a website is not only about writing JavaScript. The interface also needs to be clear and understandable for users.
Once the UI was ready, I could focus on connecting it to the API.
Day 39: Connecting the GitHub Users API
After completing the interface, I started working on the main functionality.
For this project, I used the GitHub Users API to retrieve profile information.
The API endpoint follows this format:
https://api.github.com/users/username
Here, username represents the GitHub username entered by the user.
For example, if someone enters octocat, the request becomes:
https://api.github.com/users/octocat
The API returns information about the requested GitHub profile in JSON format.
Some of the profile information available in the response includes:
- login - GitHub username
- name - user's display name, if available
- avatar_url - profile picture URL
- bio - profile bio, if available
- followers - number of followers following - number of followings
- public_repos - number of public repositories
This information can then be used to display a profile card on the webpage.
Getting the username from the input field
The first step was getting the username entered by the user.
For example:
const inputBox = document.querySelector("#username");

const enteredUserName = inputBox.value.trim();

console.log(enteredUserName);
Here, .value retrieves the input value and .trim() removes unnecessary spaces from the beginning and end.
Making a request using the entered username
Once I had the username, I could use it to create the API request.
Here is a simplified example:
function searchGitHubUser(username) {
  const xhr = new XMLHttpRequest();

  const url = `https://api.github.com/users/${encodeURIComponent(username)}`;

  xhr.open("GET", url);

  xhr.onload = function () {
    if (xhr.status === 200) {
      const userData = JSON.parse(xhr.responseText);

      console.log(userData);
    } else if (xhr.status === 404) {
      console.log("GitHub user not found!");
    } else {
      console.log("Something went wrong!");
    }
  };

  xhr.onerror = function () {
    console.log("Network error occurred!");
  };

  xhr.send();
}
In this example, encodeURIComponent() helps safely encode the username when placing it inside the URL.
The response is then checked before trying to use the returned data.
This was an important part of the project because the application should not assume that every API request will return a successful response.
Handling Different API Responses
While working on the functionality, I realised that displaying the API response was not the only thing I needed to consider.
Users can enter different values and the API can return different responses depending on the request.
For example:
- Valid username
If the username exists, the API returns the user's profile information.
- Invalid or unavailable username
If the requested GitHub user does not exist, the API returns a 404 status.
- Empty input
If the user clicks the search button without entering a username, the application should display a helpful message instead of making an unnecessary request.
- Missing profile information
Not every GitHub profile contains every field.
For example, a user might not have added a name or bio to their profile.
This means I should n0t assume that every property will always contain a value.
For example:
const name = userData.name || "Name not available";

const bio = userData.bio || "No bio available";
This provides fallback text when those values are missing or empty.
I also needed to think about how to handle network errors and other unsuccessful responses.
This part of development helped me understand that a working application should consider more than just the successful case.
Day 40: Completing the Main Features
By Day 40, the main features of my GitHub User Finder were almost complete.
I had already connected the API and implemented the main functionality.
At this stage, I focused on checking the remaining details and making sure the application behaved properly.
I wanted to avoid situations where unexpected API responses or missing profile information would result in undefined or null values appearing on the webpage.
Testing different conditions was an important part of this stage.
It also helped me understand why validating user input and checking API responses are important when working with external data.
Day 41: Completing and Publishing My Project
Finally, on Day 41, I completed my GitHub User Finder project and published it!
I also implemented some basic SEO improvements to make the website more search-engine friendly.
This was a nice moment in my learning journey because I had taken a project from an initial idea to a live website.
My GitHub User Finder project
Here are the project details:
Project: GitHub User Finder
Technologies: HTML, CSS, JavaScript, GitHub Users API, XMLHttpRequest
Live website: GitHub User Finder
GitHub repository: https://github.com/dharmapada0003/javascript-learning-challenge/tree/main/projects/07-github-user-finder
I enjoyed building this project because it gave me an opportunity to apply what I had learned about APIs and JavaScript in a practical way.
Also Read: My JavaScript Learning Journey - Week 3: DOM Manipulation, Events & Practice
What I Learned From Building This Project
Looking back at this week, I learned more than just how to make an API request.
Here are some of my main takeaways:
- I understood what APIs are and how applications communicate through them.
- I explored XMLHttpRequest and practised making HTTP requests.
- I learned how to work with JSON responses.
- I practised connecting an external API to a JavaScript project.
- I understood the importance of validating user input.
- I learned to consider missing values and unsuccessful API responses.
- I got more experience building a project from the initial UI to the final deployment.
- I also explored some basic SEO improvements.
One important thing I realised is that a project does not become complete just because its main functionality works.
We also need to think about different user inputs, unexpected responses, missing data and how the application behaves in those situations.
These are things I want to keep improving as I build more projects.
Read More: My JavaScript Learning Journey - Week 5: Dates, Arrays and Objects
What is Next in My JavaScript Learning Journey?
Completing this project has made me more interested in building applications that work with real data.
Before this week, most of my practice involved learning JavaScript concepts and using them in small exercises.
Now, after working with an external API, I have a better understanding of how those concepts can be used in an actual web application.
I still have a lot to learn and I know there will be more challenges as I continue.
My next goal is to keep practising JavaScript, explore more web development concepts and build projects that help me improve my skills.
The best part of learning is seeing something you built actually work.
This is the end of Week 7 of my JavaScript learning journey. One more week completed, one more project built and many more things left to explore! 🚀
About the author
- Hi, I am Dharmapada, an MCA student and aspiring full-stack developer. I am currently learning modern web development with a focus on the MERN stack. I enjoy learning by building projects and experimenting with different technologies. My current journey includes HTML, CSS, JavaScript, React.js, Tailwind CSS, Node.js, Express.js, MongoDB and AI. I created this Hashnode profile to document what I learn, share my experiences and write about the challenges and solutions I discover while building projects. What I am Learning: 🌐 Frontend development with HTML, CSS & React ⚛️ React.js & Tailwind CSS 🛠️ Node.js & Express.js 🗄️ MongoDB & databases 🤖 AI and modern development tools 🚀 Building practical projects I will share tutorials, notes, project experiences and things I discover along the way. Learn -> Build -> Improve -> Repeat. 🚀
Comments
Join the discussionNo comments yet. Be the first to comment.
JavaScript Learning Journey
Follow my JavaScript learning journey as I explore programming concepts, practice coding, build projects and share what I learn in public.