
My JavaScript Learning Journey - Week 4: Learning by Building Mini Projects
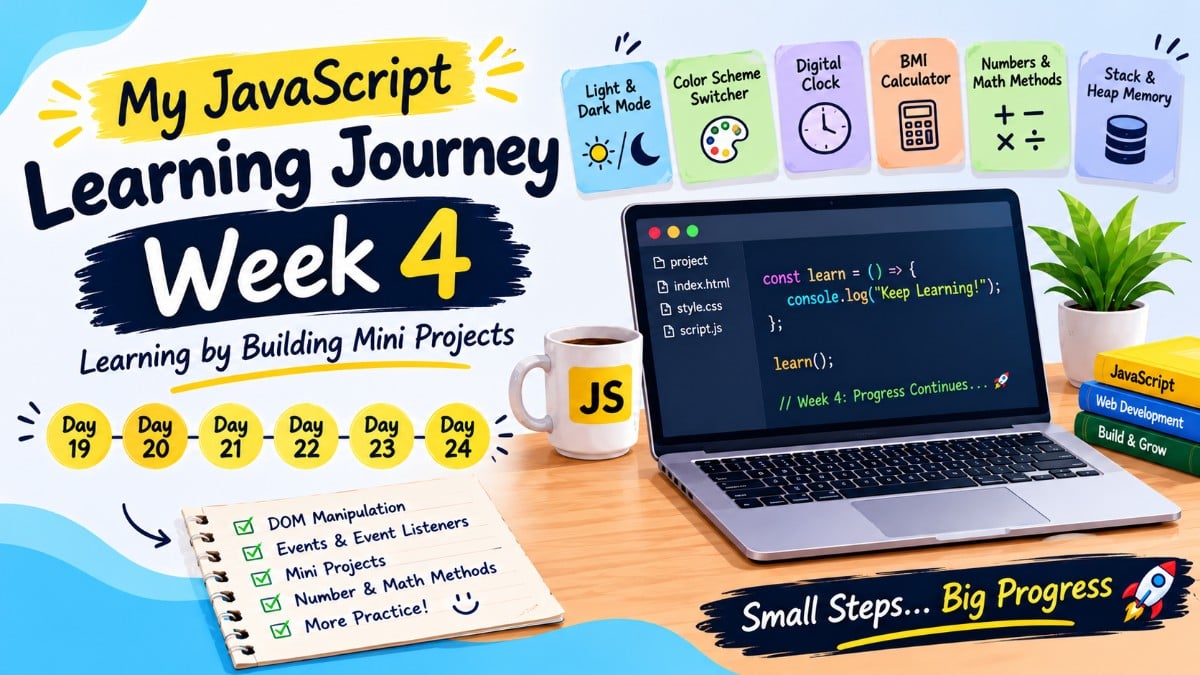
Every week of my JavaScript learning journey teaches me something new. Sometimes I understand a concept quickly and sometimes I need to practise it a few times before it starts making sense.
During Week 4, from Day 19 to Day 24 of my learning challenge, I focused on practising JavaScript concepts and using them in small projects.
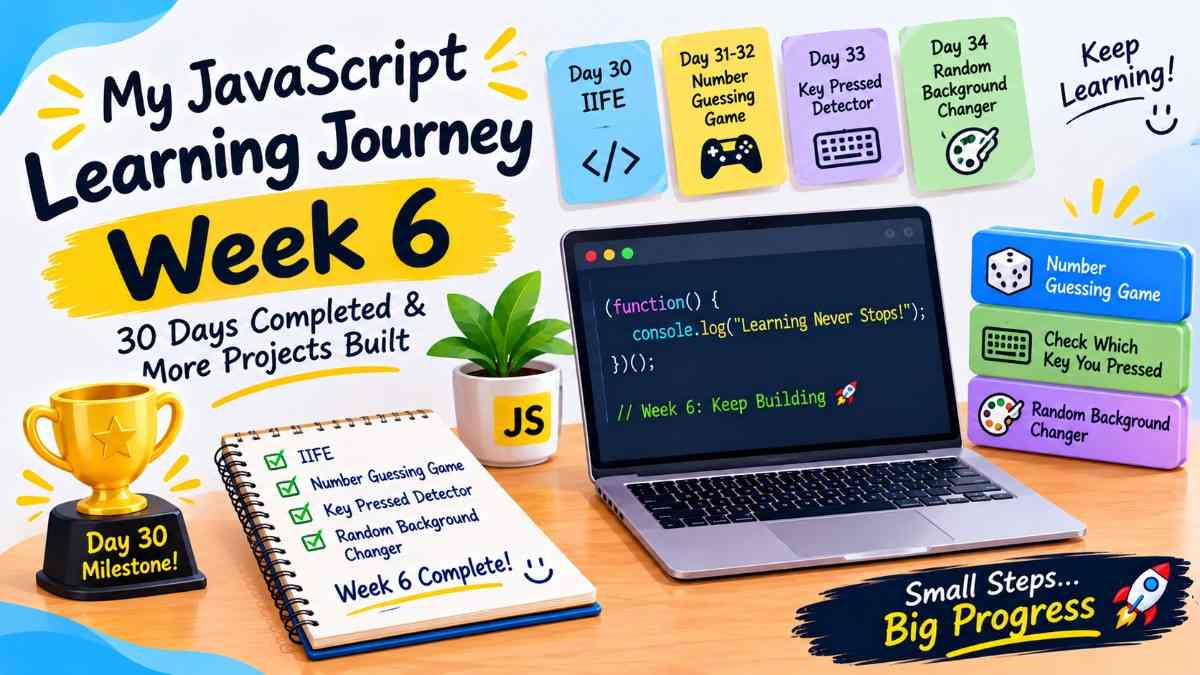
I worked on light and dark mode, built a Color Scheme Switcher, created a Digital Clock, made a BMI Calculator and learned about stack and heap memory, Number methods and Math methods.
In this article, I am sharing what I learned this week, the projects I built and a few things that became clearer through practice.
Day 19: Practising Light and Dark Mode
I started the week with a simple exercise: changing a webpage's background between light and dark modes by clicking a button.
Although the idea was simple, it gave me a chance to practise concepts I had already learned.
I implemented the exercise in two ways.
1. Using if...else statements
I used conditional statements to check the current mode and change the background accordingly.
 const btn = document.querySelector("#btn");

 let currentMode = "light";

 btn.addEventListener("click", () => {
   if (currentMode === "light") {
     document.body.style.backgroundColor = "black";
     currentMode = "dark";
   } else {
     document.body.style.backgroundColor = "white";
     currentMode = "light";
   }
This helped me practise how JavaScript makes decisions based on a condition.
2. Using the classList property
I also practised using the classList.add() and classList.remove() methods to add or remove a CSS class from an HTML element.
.dark {
  background-color: black;
  color: white;
}

.light {
  background-color: white;
  color: black;
}
const btn = document.querySelector("#btn");

let currentMode = "light";

btn.addEventListener("click", () => {
  if (currentMode === "light") {
    document.body.classList.add("dark");
    document.body.classList.remove("light");
    currentMode = "dark";
  } else {
    document.body.classList.add("light");
    document.body.classList.remove("dark");
    currentMode = "light";
  }
});
Here, classList.add() applies the dark-mode class to the body element, while classList.remove() removes the class when it is no longer needed.
This approach is useful because it allows me to control the appearance of a webpage using JavaScript while keeping the styling separate in CSS. It also gives me more control over when a particular style is applied or removed.
My takeaway from this exercise was that the same feature can often be implemented in different ways. Practising both approaches helped me understand the role of conditional logic and DOM manipulation.
Day 20: Building a Color Scheme Switcher
On Day 20, I moved from a small exercise to a mini project: a Color Scheme Switcher built with HTML, CSS and JavaScript.
The idea is simple. When a user clicks a color option, the webpage's background changes to that color.
While building it, I practised two JavaScript concepts:
- if...else statements
- The forEach() array method
I used conditional logic to handle different choices and practised forEach() to work with multiple elements.
Color Scheme Switcher Code:
const commonBtns = document.querySelectorAll(".commonBtn");

commonBtns.forEach((eachBtn) => {
  eachBtn.addEventListener("click", (evt) => {
    if (evt.target.id === "aqua") {
      document.body.style.backgroundColor = evt.target.id;
      console.log(evt.target.id);
    }

    if (evt.target.id === "yellowgreen") {
      document.body.style.backgroundColor = evt.target.id;
      console.log(evt.target.id);
    }

    if (evt.target.id === "cornflowerblue") {
      document.body.style.backgroundColor = evt.target.id;
      console.log(evt.target.id);
    }

    if (evt.target.id === "crimson") {
      document.body.style.backgroundColor = evt.target.id;
      console.log(evt.target.id);
    }
  });
});
This example prints each color to the console. In a project, a similar approach can be used to attach event listeners to multiple color buttons.
Building this project helped me connect JavaScript logic with what a user sees and interacts with on a webpage.
Try my project: Color Scheme Switcher
View the source code on GitHub: Color Scheme Switcher Code
I am happy to have another small project to add to my JavaScript learning journey!
Day 21: Creating a Digital Clock
For Day 21, I built a Digital Clock using HTML, CSS and JavaScript.
The clock displays the user's local time and updates continuously. While working on it, I learned about the Date object and setInterval().
Understanding Date
JavaScript's Date object helps us work with dates and times.
For example:
const now = new Date();

console.log(now.getHours());
console.log(now.getMinutes());
console.log(now.getSeconds());
These methods return the current hour, minute, and second according to the local time represented by the Date object.
Understanding setInterval()
The setInterval() function runs a callback repeatedly at a specified interval.
For example:
setInterval(() => {
  console.log(new Date().toLocaleTimeString());
}, 1000);
This prints the current local time approximately every second.
By combining these concepts with DOM manipulation, I was able to display the time on a webpage and keep it updated.
This project helped me understand how JavaScript can do more than respond to clicks. It can also update information automatically over time.
Digital Clock Code:
const clockDiv = document.querySelector(".clockDiv");

setInterval(() => {
  let time = new Date();

  console.log(time.toLocaleTimeString());

  clockDiv.innerText = time.toLocaleTimeString();
}, 1000);
Check out my project: Digital Clock
View the source code on GitHub: Digital Clock Code
Day 22: Understanding Stack and Heap Memory
On Day 22, I learned about stack and heap memory in JavaScript.
At first, these terms sounded a little difficult, but learning their basic differences helped me understand how values and objects behave when I work with variables.
What is stack memory?
Stack memory is commonly associated with managing function calls, execution contexts, and certain local values.
One important thing I practised was how primitive values behave when assigned to another variable.
let firstNumber = 10;
let secondNumber = firstNumber;

secondNumber = 20;

console.log(firstNumber);  // 10
console.log(secondNumber); // 20
Here, secondNumber receives the primitive value of firstNumber. Changing secondNumber doesn't change firstNumber.
What is heap memory?
Heap memory is commonly used for dynamically allocated data, such as objects.
Let's look at an example:
const user1 = {
  name: "Dharma"
};

const user2 = user1;

user2.name = "JavaScript Learner";

console.log(user1.name); // JavaScript Learner
Why did user1.name change?
Because user1 and user2 refer to the same object. Assigning user1 to user2 does not create a separate copy of that object.
This was an important lesson for me: assigning an object to another variable is different from copying a primitive value.
Stack and heap are useful mental models for understanding these examples. The exact way JavaScript engines store and manage values can vary by implementation.
Day 23: Building a BMI Calculator
On Day 23, I built another mini project: a BMI Calculator using HTML, CSS, and JavaScript.
This project gave me more practice with conditional statements and formatting numbers.
BMI stands for Body Mass Index. It is calculated using weight in kilograms divided by the square of height in metres.
The formula is:
BMI = Weight (kg) ÷ Height (m)²
Here's a simple JavaScript example:
const weight = 65;
const height = 1.7;

const bmi = weight / (height * height);

console.log(bmi.toFixed(2));
The toFixed(2) method formats the result to two digits after the decimal point.
For example, a result such as 22.4913 would be displayed as "22.49".
One detail I learned is that toFixed() returns a string, not a number. This matters when I need to perform additional calculations with the result.
I also practised if...else statements to handle different conditions in the calculator.
Building this project helped me practise calculations, user input, conditional logic, and displaying a result in a readable format.
BMI is only a rough screening measure and does not determine a person's overall health by itself.
BMI Calculator Code:
const form = document.querySelector("form");
const result = document.querySelector("#result");
const yourRange = document.querySelector("#yourRange");

form.addEventListener("submit", (evt) => {
  evt.preventDefault();

  let bmiResult;

  const weight = Number(document.querySelector("#weight").value);
  const height = Number(document.querySelector("#height").value);

  if (weight === " " || weight <= 0 || isNaN(weight)) {
    alert("Please enter a valid weight!");
  } else if (height === " " || height <= 0 || isNaN(height)) {
    alert("Please enter a valid height!");
  } else {
    bmiResult = ((weight * 10000) / (height * height)).toFixed(2);
    console.log(bmiResult);
    result.innerText = bmiResult;
  }

  if (bmiResult < 18.6) {
    yourRange.innerHTML = `You are under <b>under weight.</b>`;
  } else if (bmiResult > 18.6 && bmiResult < 24.9) {
    yourRange.innerHTML = `You are under a <b>normal range.</b>`;
  } else if (bmiResult > 24.9) {
    yourRange.innerHTML = `You are under <b>over weight.</b>`;
  }
});
Check out my project: BMI Calculator
View the source code on GitHub: BMI Calculator Code
Day 24: Exploring JavaScript Number and Math Methods
On Day 24, I focused on JavaScript's Number and Math methods.
There are several built-in methods that make working with numbers easier. I practised some of them and explored how they behave with different values.
Number methods:
- toFixed():
Formats a number to a specified number of decimal places.
const price = 99.456;

console.log(price.toFixed(2)); // "99.46"
- toPrecision():
Formats a number to a specified number of significant digits.
const number = 123.456;

console.log(number.toPrecision(4)); // "123.5"
Unlike toFixed(), which focuses on decimal places, toPrecision() focuses on significant digits.
- toLocaleString():
Formats a number according to a locale, which is useful for displaying readable numbers.
const amount = 1234567;

console.log(amount.toLocaleString("en-IN"));
This can display the number using Indian-style digit grouping, such as 12,34,567.
Math methods:
I also practised several methods from JavaScript's built-in Math object.
| Method | What it does | Example |
|---|---|---|
| Math.abs() | Returns the absolute value | Math.abs(-8) → 8 |
| Math.round() | Rounds to the nearest integer | Math.round(4.6) → 5 |
| Math.ceil() | Rounds upward to an integer | Math.ceil(4.2) → 5 |
| Math.floor() | Rounds downward to an integer | Math.floor(4.8) → 4 |
| Math.min() | Returns the smallest value | Math.min(3, 7, 1) → 1 |
| Math.max() | Returns the largest value | Math.max(3, 7, 1) → 7 |
| Math.random() | Returns a pseudo-random number from 0 up to, but not including, 1 | Math.random() → varies |
One thing I want to remember is the difference between Math.floor(), Math.ceil(), and Math.round(). They may look similar, but they follow different rounding rules.
I also learned that Math.random() does not directly return a random integer. If I need an integer within a particular range, I have to combine it with another method, such as Math.floor().
For example, to generate an integer from 1 to 10:
const randomNumber = Math.floor(Math.random() * 10) + 1;

console.log(randomNumber);
This is useful for simple practice exercises and small interactive projects.
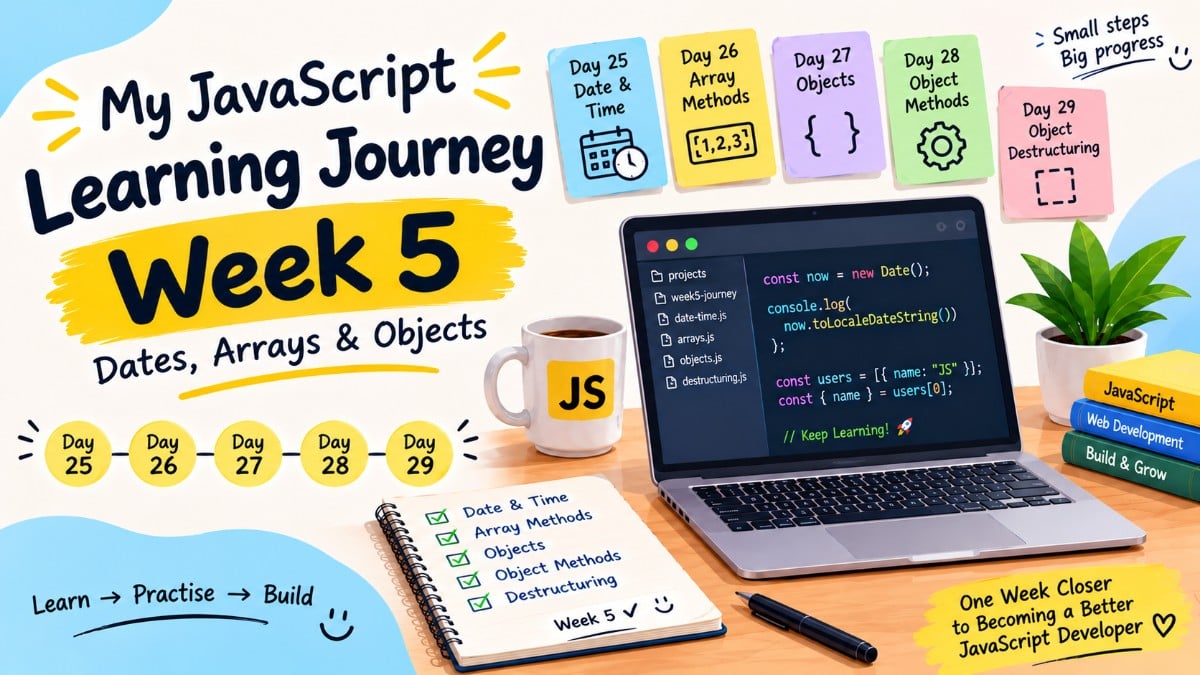
Read More: Week 5: Dates, Arrays, and Objects
What I Learned in Week 4
Looking back at these six days, I can see that I spent more time applying concepts instead of only learning their definitions.
Here are my main takeaways:
- I practised changing webpage styles with JavaScript and classList.
- I learned how forEach() can help me work with multiple elements.
- I used the Date object and setInterval() to build a Digital Clock.
- I explored the difference between primitive values and object references.
- I practised calculations and conditional logic in a BMI Calculator.
- I learned several useful Number and Math methods.
I also realised that building a project does not mean I need to create something complicated. Even a small feature can teach me a lot when I take the time to understand how it works.
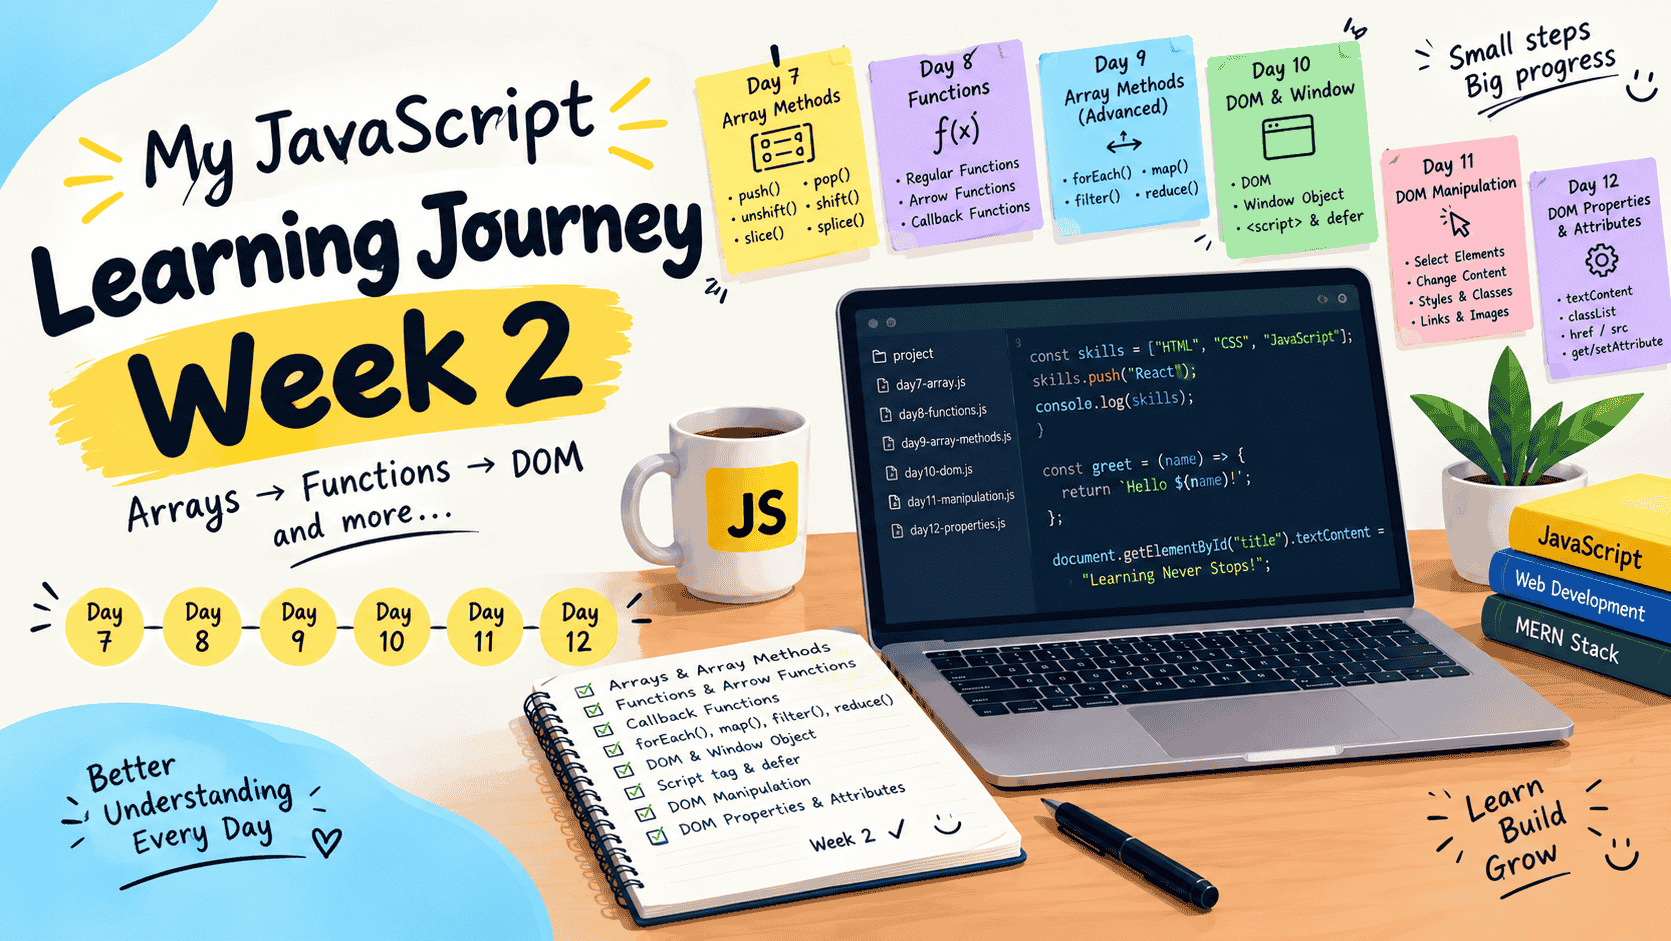
Read More: Week 2: From Array Methods to DOM Manipulation
What is Next in My JavaScript Journey?
I am still learning the fundamentals, and I know I have plenty of practice ahead of me.
My plan is to keep solving exercises, building small projects, revisiting concepts I find difficult and gradually combining everything I've learned.
I do not expect to understand everything immediately. I just want to keep making progress and become more confident with each project.
If you are also learning JavaScript, remember that you do not have to build something huge to get started. Pick one concept, try it yourself, make mistakes and improve your solution.
Small steps really do add up.
This is the end of Week 4 of my JavaScript learning journey. On to the next week! 🚀
I am documenting my progress as I learn JavaScript and full-stack web development. I will keep sharing my notes, exercises, projects and lessons along the way.
About the author
- Hi, I am Dharmapada, an MCA student and aspiring full-stack developer. I am currently learning modern web development with a focus on the MERN stack. I enjoy learning by building projects and experimenting with different technologies. My current journey includes HTML, CSS, JavaScript, React.js, Tailwind CSS, Node.js, Express.js, MongoDB and AI. I created this Hashnode profile to document what I learn, share my experiences and write about the challenges and solutions I discover while building projects. What I am Learning: 🌐 Frontend development with HTML, CSS & React ⚛️ React.js & Tailwind CSS 🛠️ Node.js & Express.js 🗄️ MongoDB & databases 🤖 AI and modern development tools 🚀 Building practical projects I will share tutorials, notes, project experiences and things I discover along the way. Learn -> Build -> Improve -> Repeat. 🚀
Comments
Join the discussionNo comments yet. Be the first to comment.
JavaScript Learning Journey
Follow my JavaScript learning journey as I explore programming concepts, practice coding, build projects and share what I learn in public.