
My JavaScript Learning Journey - Week 6: 30 Days Completed and More Projects Built
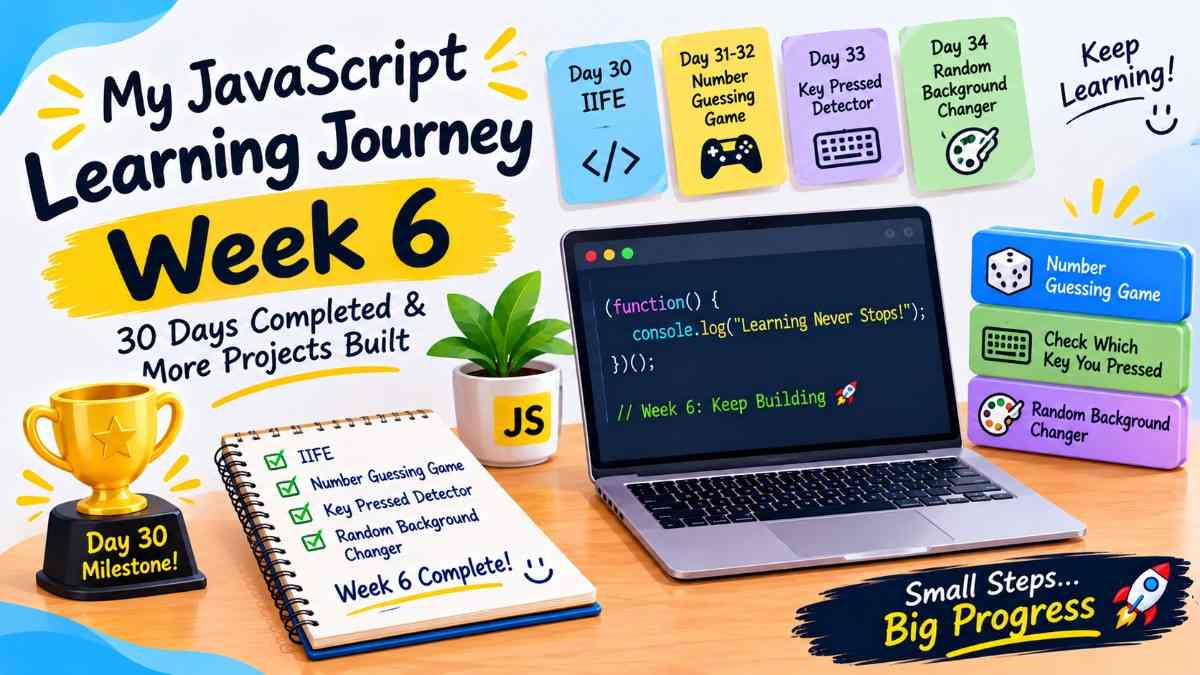
Reaching Day 30 of my JavaScript learning challenge feels like a small but meaningful achievement!
When I started this journey, my main goal was to understand JavaScript fundamentals and improve my coding skills through regular practice.
Over the past few weeks, I have explored different concepts, solved exercises and built small projects. I am still learning and there are many things I have not explored yet, but I am happy with the progress I have made so far.
During Week 6, from Day 30 to Day 34, I learned about IIFE and worked on three mini projects using HTML, CSS and JavaScript.
In this article, I am sharing what I learned, what I built and a few things I understood along the way.
Day 30: Understanding IIFE in JavaScript
On Day 30, I learned about IIFE, which stands for Immediately Invoked Function Expression.
Before exploring this concept, I was familiar with regular functions and arrow functions. But IIFE introduced me to a different way of writing and executing functions.
What is an IIFE?
An IIFE is a function expression that executes immediately after it is defined.
Let's look at a simple example:
(function () {
  console.log("Hello JavaScript!");
})();
Output:
Hello JavaScript!
Here, the function is wrapped inside parentheses and followed by another pair of parentheses ().
The final () is what invokes the function immediately.
1. Named IIFE
I also explored named IIFEs.
A named IIFE is an IIFE that has a function name.
(function myIIFE() {
  console.log("Named IIFE");
})();
Here, myIIFE is the function name and the function executes immediately.
2. Arrow Function IIFE
I also practised writing IIFEs using arrow functions.
(() => {
  console.log("IIFE using Arrow function");
})();
The main difference here is the syntax. Instead of using the regular function keyword, I am using an arrow function.
3. IIFE with Parameters
I also learned that we can pass parameters to an IIFE.
(function printUser(user) {
  console.log(`${user}, you logged in successfully!`);
})("Dharmapada");
Output:
Dharmapada, you logged in successfully!
We can also do this with an arrow function:
((name) => {
  console.log(`Welcome, ${name}!`);
})("Dharma");
Output:
Welcome, Dharma!
Why do we use IIFE?
One reason IIFE is useful is that it allows us to execute a function immediately without having to call it separately later.
It can also help create a separate scope for variables and avoid accidentally creating global variables.
For example:
(function () {
  const message = "Learning JavaScript";

  console.log(message);
})();
The message variable belongs to the function's scope, so it is not available outside that function.
This was a new concept for me and practising named and arrow IIFEs helped me understand how they work.
Day 31-32: Building a Number Guessing Game
After learning about IIFE, I started working on a new mini project called "Number Guessing Game".
The project took me two days to complete.
The objective was simple:
- The computer generates a random number between 1 and 100.
- The user tries to guess the number.
- The user gets a maximum of 10 attempts.
- The game provides feedback to help the user make another guess.
I started by understanding the project requirements and then worked on implementing the functionality using JavaScript.
Generating a random number
One of the important concepts I used in this project was Math.random().
The following example generates a random integer between 1 and 100:
const randomNumber = Math.floor(Math.random() * 100) + 1;

console.log(randomNumber);
Here is how it works:
- Math.random() generates a random decimal number from 0 (inclusive) up to, but not including, 1.
- Multiplying it by 100 gives a value from 0 up to, but not including, 100.
- Math.floor() removes the decimal part.
- Adding 1 gives us an integer between 1 and 100.
Using conditional statements
I also used if...else statements to compare the user's guess with the randomly generated number.
For example:
if (guess === randomNumber) {
  console.log("You guessed it correctly!");
} else if (guess < randomNumber) {
  console.log("Your guess is too low!");
} else {
  console.log("Your guess is too high!");
}
This allows the game to provide different messages depending on the user's guess.
Practising event listeners
I used event listeners to handle user interactions, such as submitting a guess through the game interface.
This helped me understand how JavaScript can respond to user actions and update a webpage dynamically.
Building this project gave me an opportunity to combine different concepts instead of practising each one separately.
Try my live game: Number Guessing Game
I enjoyed working on this project because it turned a simple JavaScript exercise into something interactive.
Day 33: Building a "Check Which Key You Pressed" Project
On Day 33, I completed another mini project called Check Which Key You Pressed.
The idea behind this project is simple.
Whenever a user presses a key on the keyboard, a table appears showing information about that key, including the pressed key and its keycode.
While building this project, I practised keyboard events and the Event Object.
Understanding keyboard events
JavaScript provides keyboard events that allow us to detect keyboard interactions.
Two commonly used keyboard events are:
- keydown - fires when a key is pressed down.
- keyup - fires when a key is released.
For my project, I used the keydown keyboard event to detect which key the user pressed.
Here is a simple example:
document.addEventListener("keydown", (evt) => {
  console.log("Key:", evt.key);
  console.log("Code:", evt.code);
});
Let's understand these properties:
evt.key gives the value of the key pressed, such as "a" or "Enter".
evt.code identifies the physical keyboard key, such as "KeyA" or "Enter".
There is also an older keyCode property, which you may see in older examples, but it is deprecated. For new projects, event.key and event.code are generally better choices.
This project helped me understand how to capture keyboard interactions and display the information on a webpage.
Try the project: Check Which Key You Pressed
It was a simple project, but it gave me more practical experience with JavaScript events.
Day 34: Creating a Random Background Changer
For Day 34, I built another mini project called Random Background Changer.
This project allows users to change the webpage's background color randomly.
It has two buttons:
Start: Starts changing the background color randomly.
Stop: Stops the background color changes.
The idea was to practise random number generation and user interactions.
Generating random colors
One way to generate a random color is by using JavaScript's Math.random() method.
For example:
const generateRandomColor = function () {
  const hexCode = "0123456789ABCDEF";
  let color = "#";

  for (let i = 0; i < 6; i++) {
    color += hexCode[Math.floor(Math.random() * 16)];
  }
  return color;
};
This generates a random hexadecimal color value.
For example:
#ff5733
Changing the background color
We can use JavaScript to update the background color of the webpage:
document.body.style.backgroundColor = generateRandomColor();
Start and Stop functionality
The Start and Stop buttons make the project interactive.
JavaScript provides setInterval() to execute a function repeatedly at a specified interval.
It also provides clearInterval() to stop that repeated execution.
Here is a simplified example:
let intervalId;

const startChangingBgColor = function () {
  if (!intervalId) {
    intervalId = setInterval(changeBgColor, 1000); //setInterval()
  }

  function changeBgColor() {
    document.body.style.backgroundColor = generateRandomColor();
    console.log(generateRandomColor());
  }
};

//clearInterval()
const stopChangingBgColor = function () {
  clearInterval(intervalId);
  intervalId = null;
};
Here, the background color changes approximately every second after starting. The Stop function clears the interval.
The check inside startChangingBgColor() prevents multiple intervals from being started accidentally.
This project helped me practise controlling repeated actions and responding to button clicks.
Try the project: Random Background Changer
What I Learned During Week 6
Looking back at these five days, I am happy that I got to explore a new JavaScript concept and apply different concepts in practical projects.
Here are my main takeaways:
- I learned what IIFE means and explored named and arrow IIFEs.
- I practised passing parameters to IIFEs.
- I used Math.random() to generate a random number for my Number Guessing Game and Random Background Changer.
- I practised event listeners and conditional statements.
- I explored keyboard events and properties of the Event Object.
- I learned how to generate random colors and build a random background color changer.
- I got more practice combining HTML, CSS and JavaScript to create interactive projects.
One thing I am gradually realising is that building projects helps me understand how different concepts work together.
A single project might involve conditions, functions, events, DOM manipulation and built-in methods. Understanding how these parts work together is important for learning JavaScript.
My Thoughts After Completing 30 Days of JavaScript
Completing Day 30 was a nice milestone, but it does not mean I have mastered JavaScript.
There are still many concepts I need to explore and some of the topics I have already learned need more practice.
When I look back at where I started, I am glad that I continued learning, solving exercises and building projects instead of stopping after understanding the basic syntax.
I also learned that it is okay when something does not work on the first attempt. Debugging, trying different approaches and understanding mistakes are all part of the learning process.
My goal is to keep improving my JavaScript skills and gradually become more confident in building projects.
30 days completed, but my learning journey continues! 🚀
If you are also learning JavaScript, do not worry about understanding everything at once. Start with small concepts, practise them and try building something with what you have learned.
Small projects can teach you more than you might expect.
Thanks for following along with my learning journey. See you in the next week!
➡️ Follow my JavaScript learning journey on: X
➡️ Follow my JavaScript learning journey on: Linkedin
➡️ To get code follow me on: Github
Learn -> Build -> Make mistakes -> Understand -> Improve -> Repeat. 🚀
About the author
- Hi, I am Dharmapada, an MCA student and aspiring full-stack developer. I am currently learning modern web development with a focus on the MERN stack. I enjoy learning by building projects and experimenting with different technologies. My current journey includes HTML, CSS, JavaScript, React.js, Tailwind CSS, Node.js, Express.js, MongoDB and AI. I created this Hashnode profile to document what I learn, share my experiences and write about the challenges and solutions I discover while building projects. What I am Learning: 🌐 Frontend development with HTML, CSS & React ⚛️ React.js & Tailwind CSS 🛠️ Node.js & Express.js 🗄️ MongoDB & databases 🤖 AI and modern development tools 🚀 Building practical projects I will share tutorials, notes, project experiences and things I discover along the way. Learn -> Build -> Improve -> Repeat. 🚀
Comments
Join the discussionNo comments yet. Be the first to comment.
JavaScript Learning Journey
Follow my JavaScript learning journey as I explore programming concepts, practice coding, build projects and share what I learn in public.