My JavaScript Learning Journey: From Array Methods to DOM Manipulation
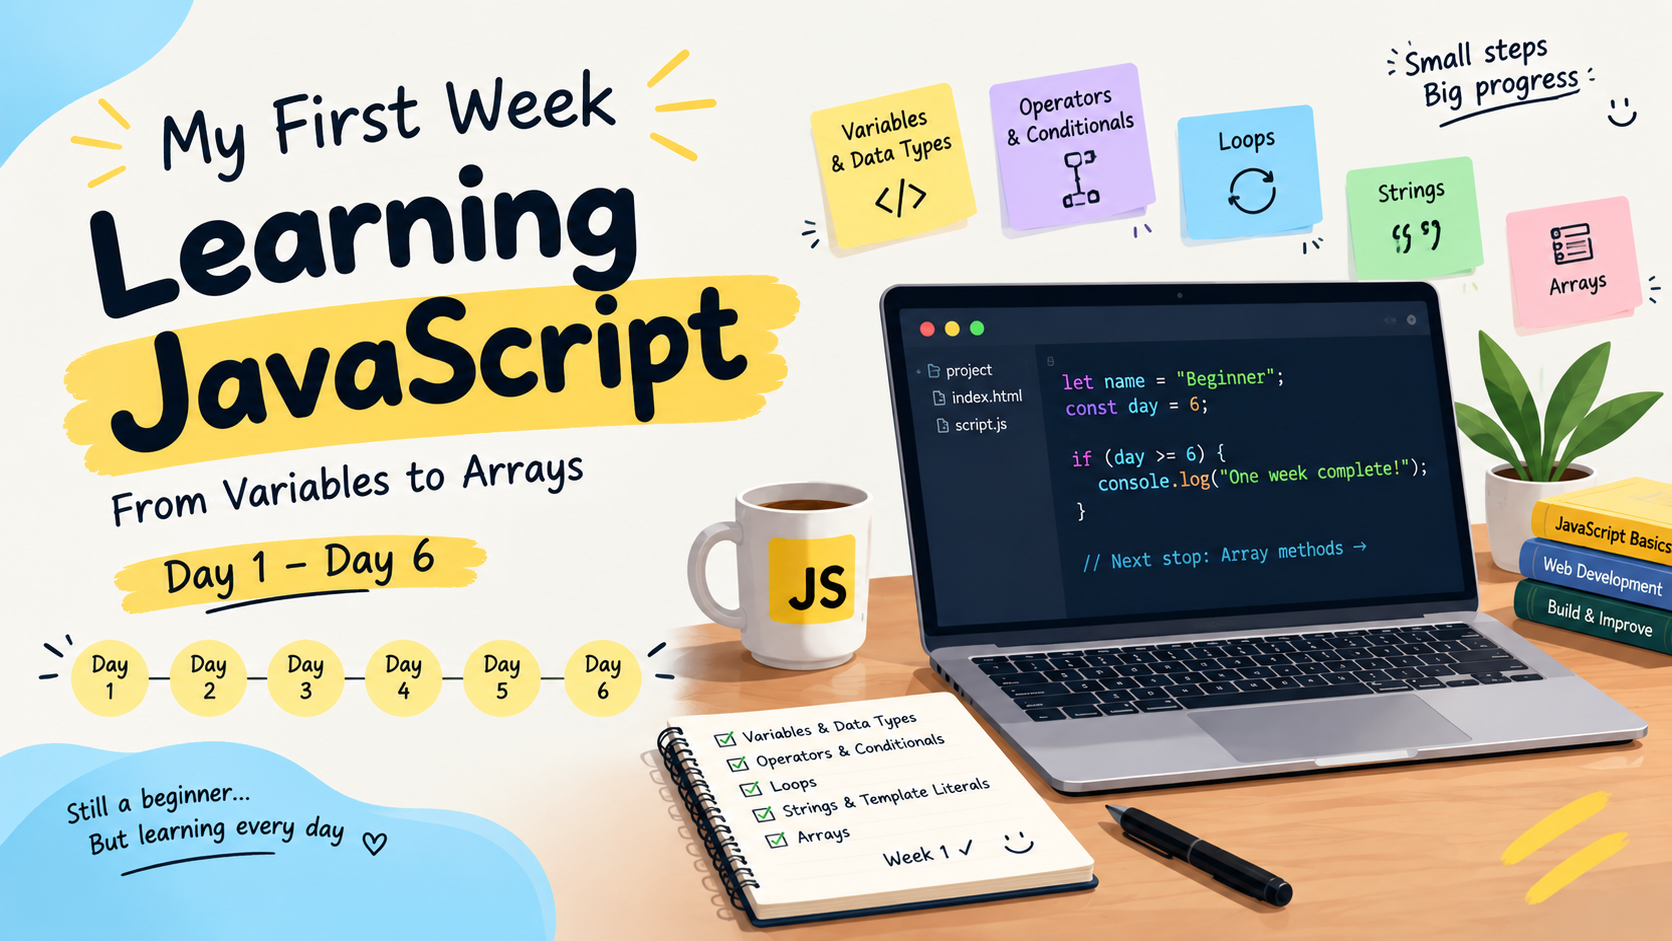
I have been learning JavaScript step by step and recently I reached a point where things started becoming much more interesting.
In the beginning, I was mostly writing JavaScript code and checking the output in the console. But now I am learning how JavaScript can actually interact with a webpage.
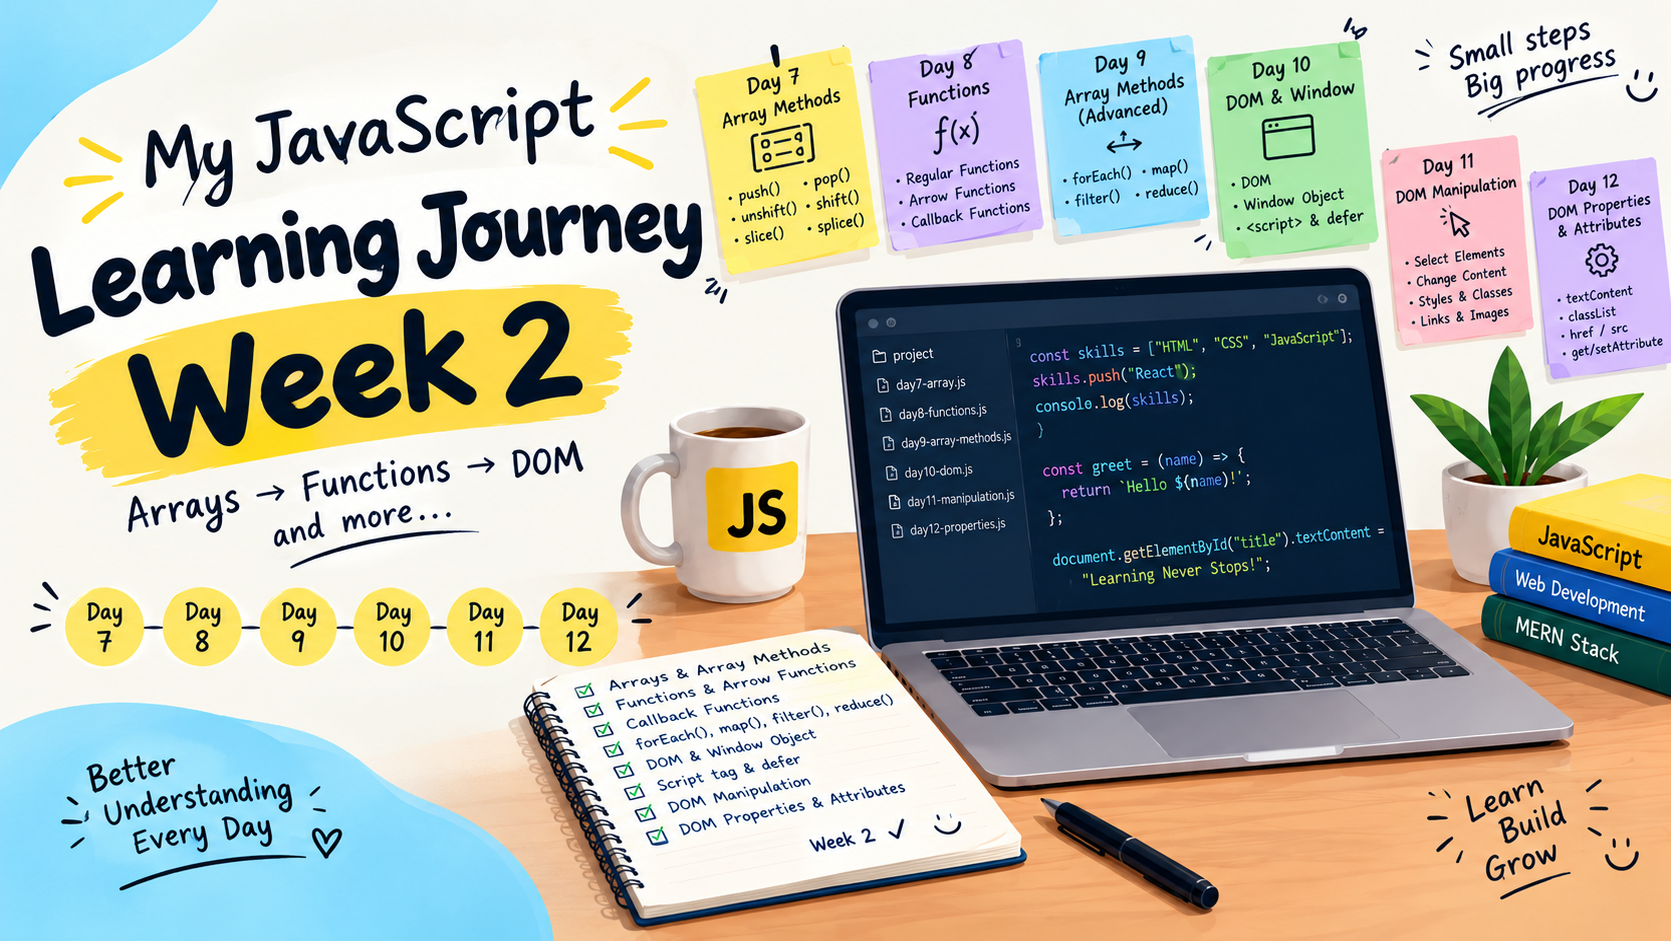
During the last few days of my learning journey, I explored:
JavaScript Array Methods
Functions
Arrow Functions
Callback Functions
forEach(), map(), filter() and reduce()
The DOM
The Window Object
The Script tag
defer
DOM Manipulation
DOM Properties and Attributes
Some concepts were easy to understand, while others were definitely confusing.
So in this article, I want to share what I learned as a beginner.
📝 My Learning Notes:
This article is part of my 30 Days of JavaScript learning challenge, where I am learning JavaScript step by step and sharing what I learn along the way.
Here are my daily learning notes:
Day 7: JavaScript Array Methods
Day 8: JavaScript Functions & Callback Functions
Day 9: forEach(), map(), filter() & reduce()
Day 10: DOM, Window Object & defer
Day 11: DOM Manipulation
Day 12: DOM Properties & Attributes
I am using these daily notes to track my progress, share what I am learning and document the concepts that I find difficult along the way.
Day 7 - Getting More Comfortable with Arrays
I had already learned what arrays are, but I started exploring some of the methods that we can use to work with them.
For example:
let fruits = ["Apple", "Banana", "Mango"];

fruits.push("Orange");

console.log(fruits);
The result is:
["Apple", "Banana", "Mango", "Orange"]
push() adds an item to the end of the array.
I also learned about:
push()
pop()
unshift()
shift()
slice()
splice()
One thing that I found important was understanding whether a method changes the original array or not.
Methods that change the original array
The methods I learned that modify the original array are:
push()
pop()
unshift()
shift()
splice()
For example:
let numbers = [1, 2, 3];

numbers.push(4);

console.log(numbers);
Now the original numbers array has changed.
What about slice()?
slice() works differently.
let numbers = [1, 2, 3, 4, 5];

let newNumbers = numbers.slice(1, 4);

console.log(newNumbers);
console.log(numbers);
The result is:
[2, 3, 4]
[1, 2, 3, 4, 5]
So slice() creates a new array and doesn't modify the original array. Understanding this difference was one of the useful things I learned while practising arrays.
Day 8 - Learning Functions
After working with arrays, I spent some time learning more about functions.
A function is basically a reusable block of code that we can call whenever we need it. Functions can receive values through parameters and can return a result.
For example:
function myFunction() {
  console.log("I am Dharmapada.");
  console.log("I love coding");
}

myFunction();
The function can be called whenever I want to use that piece of code.
Understanding return
One thing I paid attention to was the return statement.
function multiplication(a, b) {
  let Value = a * b;
  return Value; //This will return
}

let result = multiplication(5, 4);

console.log(result); //output: 20
Once JavaScript reaches return, the function finishes and returns the value.
That means the code written after the return in the same execution path will not run.
This was a small thing, but understanding it made functions easier for me.
Arrow Functions
I also learned about Arrow Functions.
A normal function can look like this:
function add(a, b) {
    return a + b;
}
The same basic operation can be written using an Arrow Function:
const add = (a, b) => {
    return a + b;
};
And it can be shortened further:
const add = (a, b) => a + b;
At first, the syntax looked a little strange to me.
But after writing a few examples, I started getting more comfortable with it.
Callback Functions Were Confusing
This was one of the topics where I didn't immediately feel comfortable.
A callback function is basically a function that is passed to another function so that it can be called by that function.
For example:
function greet(name) {
    console.log("Hello " + name);
}

function processUser(callback) {
    callback("Dharma");
}

processUser(greet);
Here, greet is passed into processUser().
The important part for me was understanding that I am not calling greet() when passing it. I am passing the function itself:
processUser(greet);
rather than:
processUser(greet());
This was confusing at first.
I am still practising callback functions because I don't want to just memorize the definition. I want to understand why and when they are actually useful.
JavaScript treats functions as values, which is why functions can be passed to other functions.
Day 9 - forEach(), map(), filter() and reduce()
After learning callbacks, I started seeing them used with array methods.
This is where things became more interesting.
forEach()
forEach() allows us to run a function for each item in an array.
It is commonly used when you want to perform an action for each element, rather than create a new array.
const fruits = ["apple", "banana", "orange", "grapes"];

const output = fruits.forEach((fruit) => {
  console.log(fruit.toUpperCase());
});
The callback runs for each element.
map()
map() can be used when you want to create a new array by changing each item.
let numbers = [1, 2, 3];

let doubled = numbers.map((number) => {
    return number * 2;
});

console.log(doubled);
Output:
[2, 4, 6]
This helped me understand that map() is useful when I want to transform values into a new array.
filter()
filter() is useful when you want to keep only the values that meet a condition.
let numbers = [1, 2, 3, 4, 5, 6];

let evenNumbers = numbers.filter((number) => {
    return number % 2 === 0;
});

console.log(evenNumbers);
Output:
[2, 4, 6]
reduce() Is Still a Challenge for Me
Then came reduce().
Honestly, this one took me more time to understand.
A simple example is:
let numbers = [1, 2, 3, 4];

let total = numbers.reduce((sum, number) => {
    return sum + number;
}, 0);

console.log(total);
Output:
10
The idea is that reduce() keeps updating an accumulated value as it goes through the array. The way I started thinking about it was:
Start with 0
0 + 1 = 1
1 + 2 = 3
3 + 3 = 6
6 + 4 = 10
This made the concept a little easier to visualize.
But I am still practising reduce() because I don't want to pretend that I completely understand it yet.
And I think that is okay.
Some concepts need more practice than others.
Solving a Small Exercise
I also practised a small exercise where I had to check vowels in a string.
The idea was simple:
a
e
i
o
u
But while solving it, I got stuck trying to compare the vowels with characters from the string.
This was actually a useful experience.
Instead of simply reading about JavaScript methods, I had to think about:
How to access characters
How to compare values
How loops work
How conditions work
How to structure the solution
Getting stuck showed me that understanding a concept and being able to use it in a problem are two different things.
I need practice to connect the two.
Day 10 - Moving From JavaScript to the Browser
After spending time with arrays and functions, I started learning about something that made JavaScript feel much more practical:
The DOM.
DOM stands for Document Object Model.
The browser represents the webpage as a structure of objects, and JavaScript can use the DOM to access and manipulate elements on the page.
For example, suppose I have this HTML:
<h1 id="title">Hello World!</h1>
I can select it using JavaScript:
const title = document.getElementById("title");
Now JavaScript has a reference to that element.
I can change its text:
title.textContent = "Hello JavaScript!";
The webpage changes from:
Hello World
to:
Hello JavaScript
This was one of those moments where JavaScript started feeling much more interesting to me.
I was not just seeing output in the console anymore.
I was actually changing the webpage.
Understanding the Window Object
While learning the DOM, I also came across the Window Object.
The window object represents the browser window or tab in which the webpage is loaded.
For example:
console.log(window.innerWidth);
This can give information about the width of the browser window.
The document object is also available through the window and represents the webpage document that JavaScript can interact with.
At first, I found the relationship between:
window
   ↓
document
   ↓
HTML elements
a little confusing.
But thinking about it as a hierarchy helped me understand it better.
Where Should We Put the script Tag?
I also learned something that I had not paid much attention to before:
Where should JavaScript be loaded in an HTML page?
For example:
<head>
    <script src="script.js"></script>
</head>
If the script runs before the HTML elements it needs have been parsed, JavaScript may not be able to access those elements yet.
One option is to put the script near the end of the body:
<body>
    <h1>Hello</h1>

    <script src="script.js"></script>
</body>
Another option for an external script is to use defer:
<head>
    <script src="script.js" defer></script>
</head>
With defer, the browser can parse the HTML while fetching the external script, and the script executes after the document has been parsed.
This made me understand why the placement of JavaScript matters when working with the DOM.
Day 11 - My First Steps Into DOM Manipulation
Once I understood how to select elements, I started practising DOM manipulation.
For example:
<p id="message">Old Message</p>
JavaScript:
const message = document.getElementById("message");

message.textContent = "New Message";
I also practised changing styles:
message.style.color = "blue";
Adding classes:
message.classList.add("highlight");
Changing a link:
link.href = "https://amazon.com";
And changing an image:
image.src = "new-image.jpg";
These examples were simple, but they helped me understand how JavaScript can control different parts of a webpage.
DOM scripting commonly involves selecting elements and then changing their content, styles, attributes or structure.
Day 12 - DOM Properties and Attributes
Another topic I started learning was the difference between properties and attributes.
For example, consider:
<a id="myLink" href="https://google.com">
    Visit Website
</a>
JavaScript can access the link's href property:
const link = document.getElementById("myLink");

console.log(link.href);
We can also work directly with HTML attributes:
link.setAttribute("href", "https://flipkart.com");
And read an attribute:
link.getAttribute("href");
I also practised things like:
element.textContent
element.classList
element.style
image.src
link.href
At this stage, I started realizing that DOM manipulation is not just about changing text.
There are many different ways JavaScript can interact with an HTML element.
What I Found Difficult
One thing I have noticed during this learning journey is that not every topic becomes clear on the first attempt.
For me, these were some of the confusing parts:
Callback Functions
I understood the definition, but using callbacks naturally in code took more practice.
reduce()
forEach(), map(), and filter() felt easier to understand.
reduce() took more time because I had to understand how the accumulated value changes during each iteration.
DOM
The DOM introduced a completely different way of thinking.
Before this, I was mostly thinking:
Input -> JavaScript -> Output
Now I am starting to think:
HTML
 ↓
DOM
 ↓
JavaScript
 ↓
Change the webpage
That change in perspective has been interesting.
What I Learned From These Days
Looking back at these days of learning, I think the biggest improvement wasn't memorizing more methods.
It was understanding how different concepts connect.
For example:
Functions
   ↓
Callback Functions
   ↓
Array Methods
   ↓
DOM
   ↓
DOM Manipulation
   ↓
Interactive Webpages
A concept that seemed separate at first can become useful when combined with another concept.
For example, forEach() uses a callback function.
DOM manipulation uses JavaScript methods and properties.
And eventually, events will allow me to make webpages respond to user actions.
That is the part I am looking forward to learning next.
What is Next?
My next topics are:
DOM insertion methods
Events
Event listeners
More DOM practice
Building small projects
I know there is still a lot to learn.
There are also concepts from this week that I need to revisit, especially callback functions and reduce().
But I am trying not to rush through the topics just to say that I have completed them.
I want to understand them well enough to actually use them.
Final Thoughts:
This week of JavaScript learning taught me something simple:
Getting confused is also part of learning.
Sometimes I understand a concept immediately.
Sometimes I need to write the same type of code several times.
And sometimes I get stuck on something that looked very simple when I first read about it.
Instead of seeing that as a problem, I am trying to use those moments to find what I do not understand.
I am still at the beginning of my JavaScript journey, but moving from basic arrays and functions to manipulating an actual webpage feels like real progress.
I am going to keep learning, practising, making mistakes and improving one step at a time.
➡️ Follow my JavaScript learning journey on: X
➡️ Follow my JavaScript learning journey on: Linkedin
➡️ To get code follow me on: Github
Learn -> Build -> Make mistakes -> Understand -> Improve -> Repeat. 🚀